Saturday, March 5, 2016

Kat Von D Lock-It Tattoo Foundation Review

Hi all,
Today I wanted to talk about the Kat Von D Lock-It Tattoo Foundation
So I've been using this foundation for quite some time now, especially during this past winter as it provides amazing coverage and covers up my bright red, irritated skin and leaves it looking even and matte.

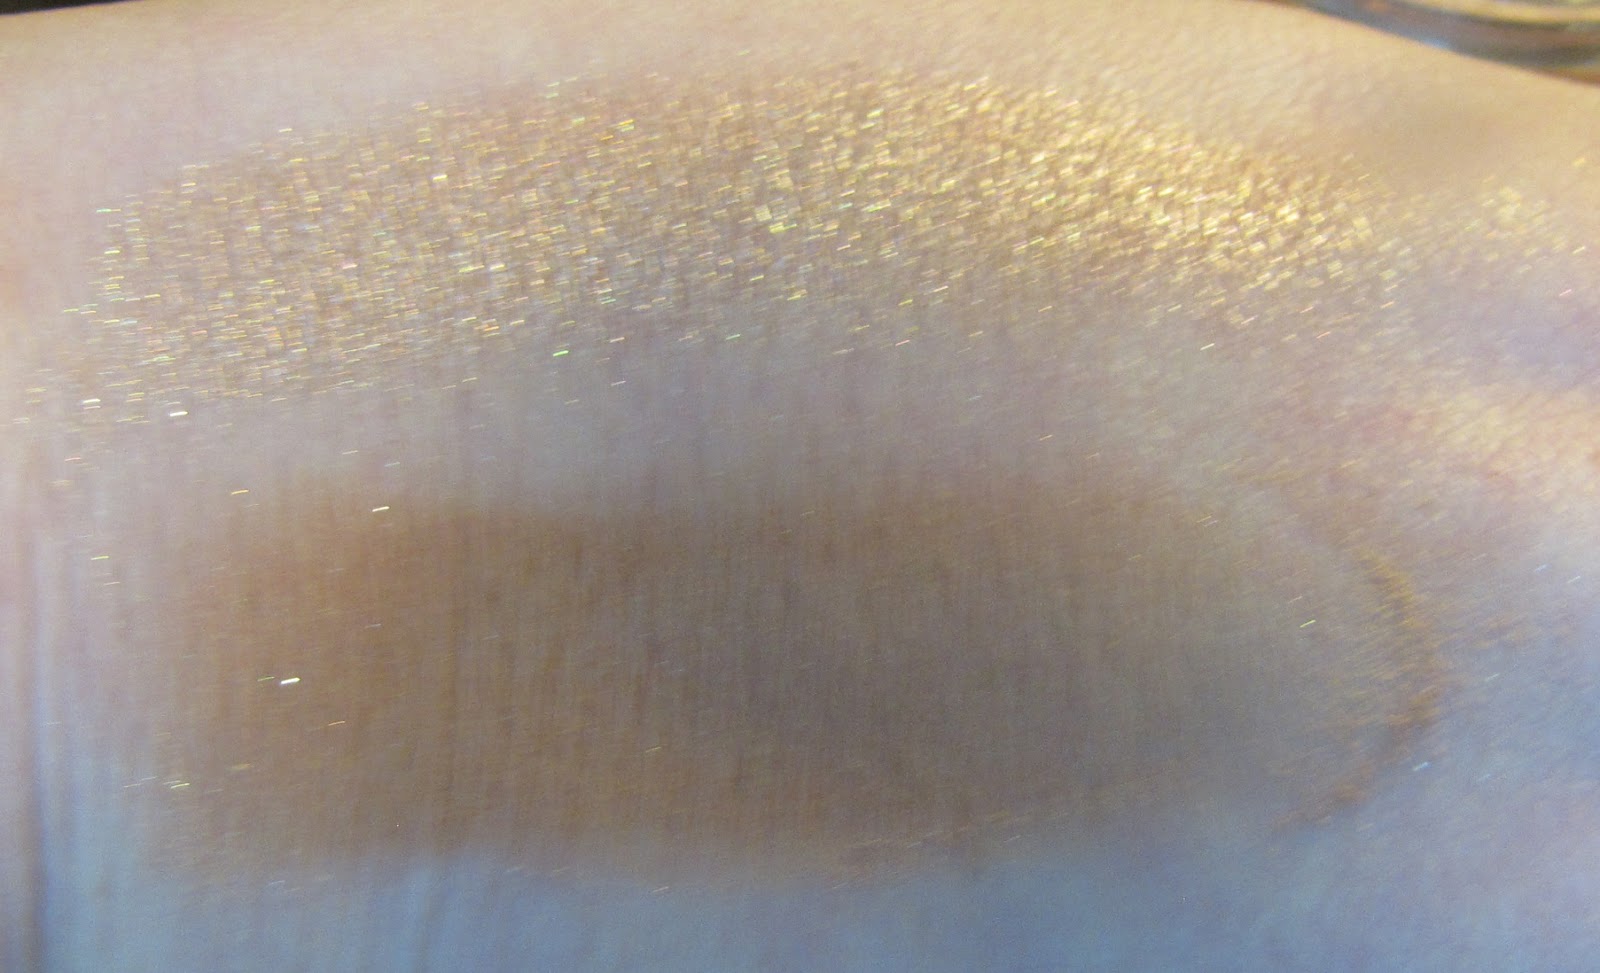
Side note: when I first got this foundation, I was color tested at Sephora (it's currently not sold elsewhere) and recommended Light 45 which is described as "light complexion with yellow undertones". From that description, I shouldn't have bought it. My undertones are not yellow, but more neutral and leaning pink. So, I took it home, tried it out under my poor lighting in my bedroom and saw no issue with the color. I loved the way it applied, and the way it felt. However, as the day went on I began to notice it under different lighting, looking very, VERY orange. Like oompa-loompa level orange. I then took the foundation back and requested a lighter shade. This being Light 44 described as "light complexion with pink undertones". This one  is much better, yet still oxidizes weirdly orange when exposed to the air too soon. This is very noticeable when you use the back of your hand to pump the products onto, and then look at your hand and see a large, orange splotch. So, I went back to Sephora for a third time, and exchanged it for Light 42, their lightest shade, described as "fair complexion with pink undertones". This one finally seems to work with my color, but be forewarned, it might be difficult to find an exact color match. Plus, trust your own instincts over the Sephora color match thing, you known your own skin


Now, on the review!

All in all, I love this foundation. It's matte, thick, silky, and photographs beautifully. However, this is not a good foundation for day to day use and I'll explain why as we go.

The foundation is VERY thick, almost paint-like when it empties the pump. It also is very high coverage, so I only need to use one pump to do my entire face and neck.  

How much I need for full coverage of face and neck
                                 
To apply, I use a beauty blender and a gentle, tapping motion all over the face until it is thoroughly blended. I don't recommend using your fingers, or a flat brush as it can look very streaky. I typically go over my problem areas (my cheeks and forehead) followed by the rest of my face to ensure these areas get covered.

Once you have applied it, you are really left with a blank canvas to work with!
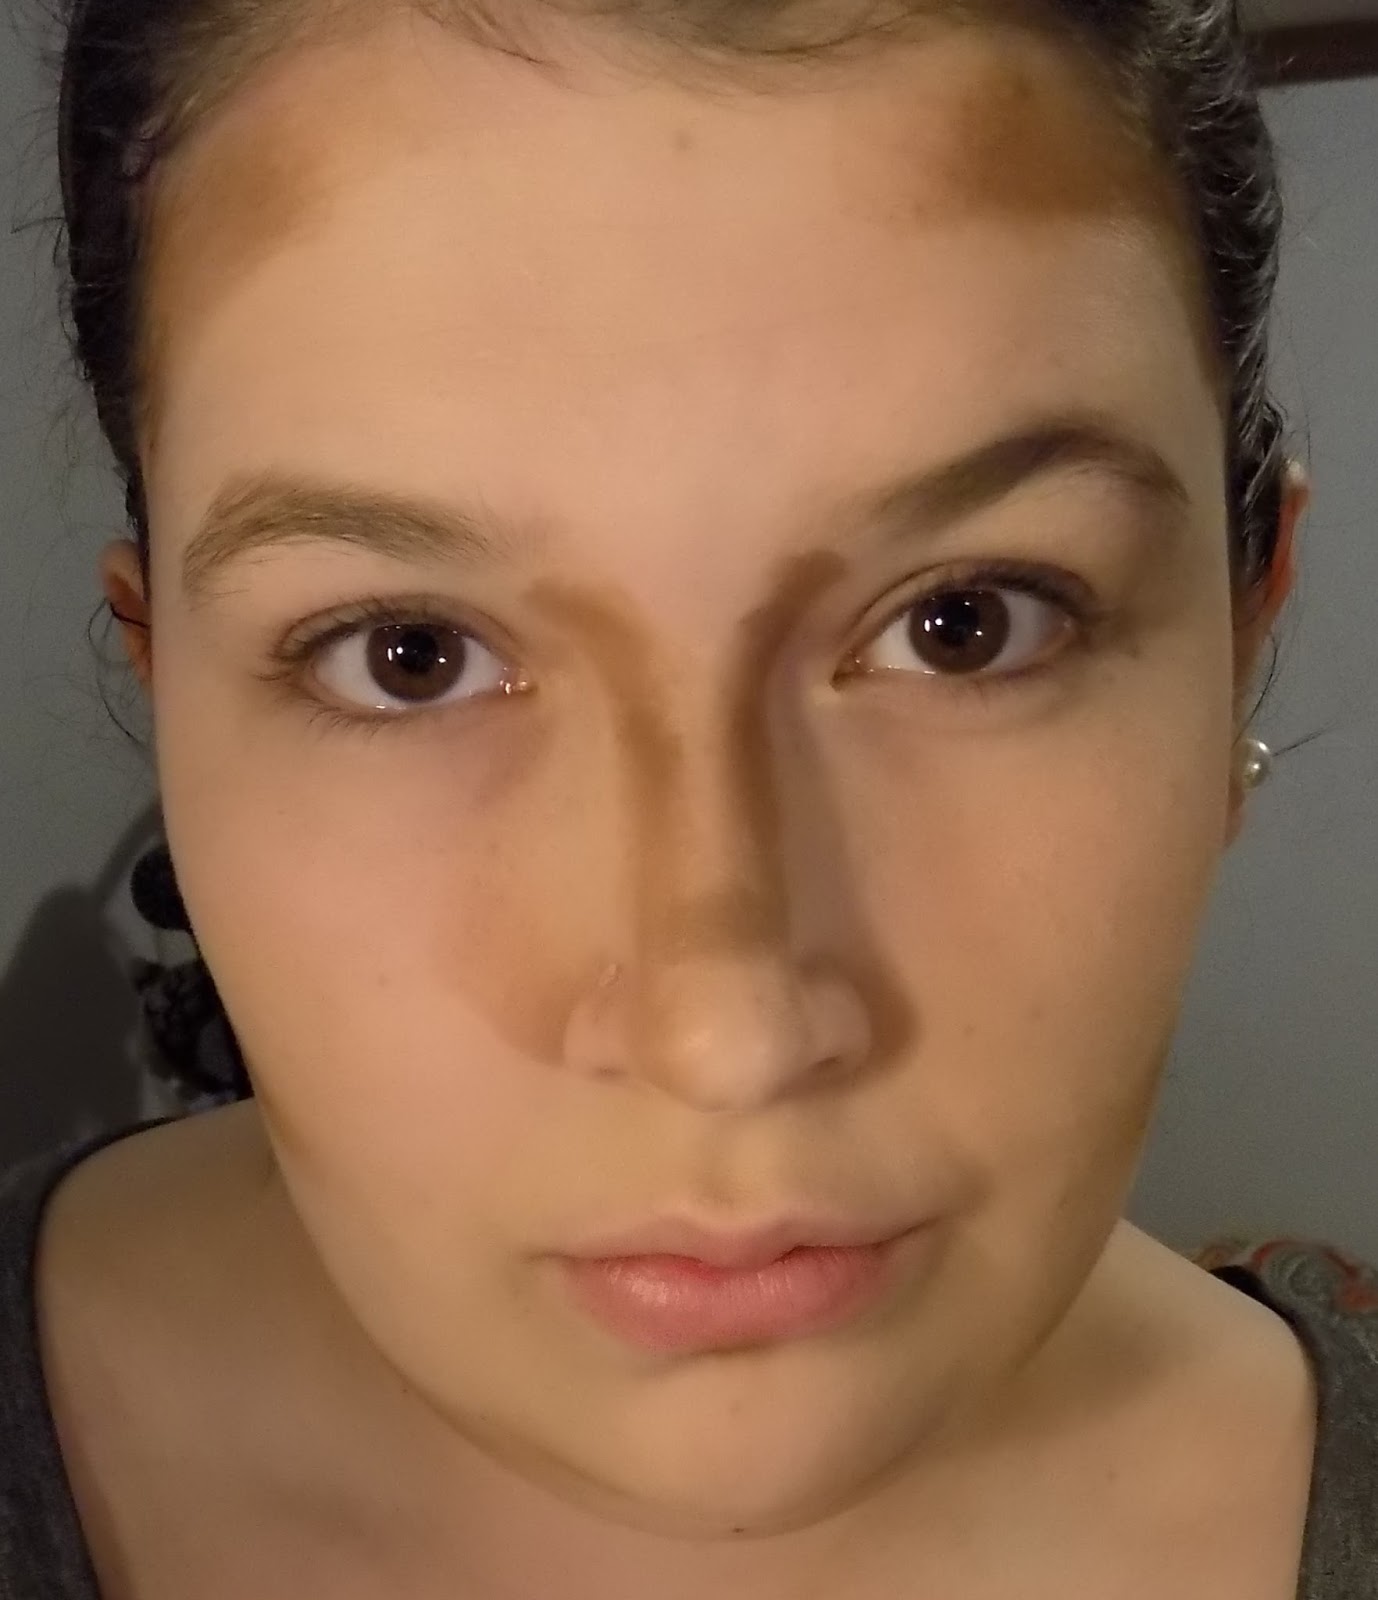

Before
After


Now you can see what I mean by blank canvas above. To make this foundation wearable, you really need to use a contouring powder or cream to add some definition to the face. Also, another drawback to this foundation is just how thick it is on the skin. This can lead to breakouts if it isn't properly removed before you go to bed at night. However, for special occasions, pictures, or recording video, there is nothing better. It looks so great on camera, when I record or take pictures for the blog I won't wear anything else. 
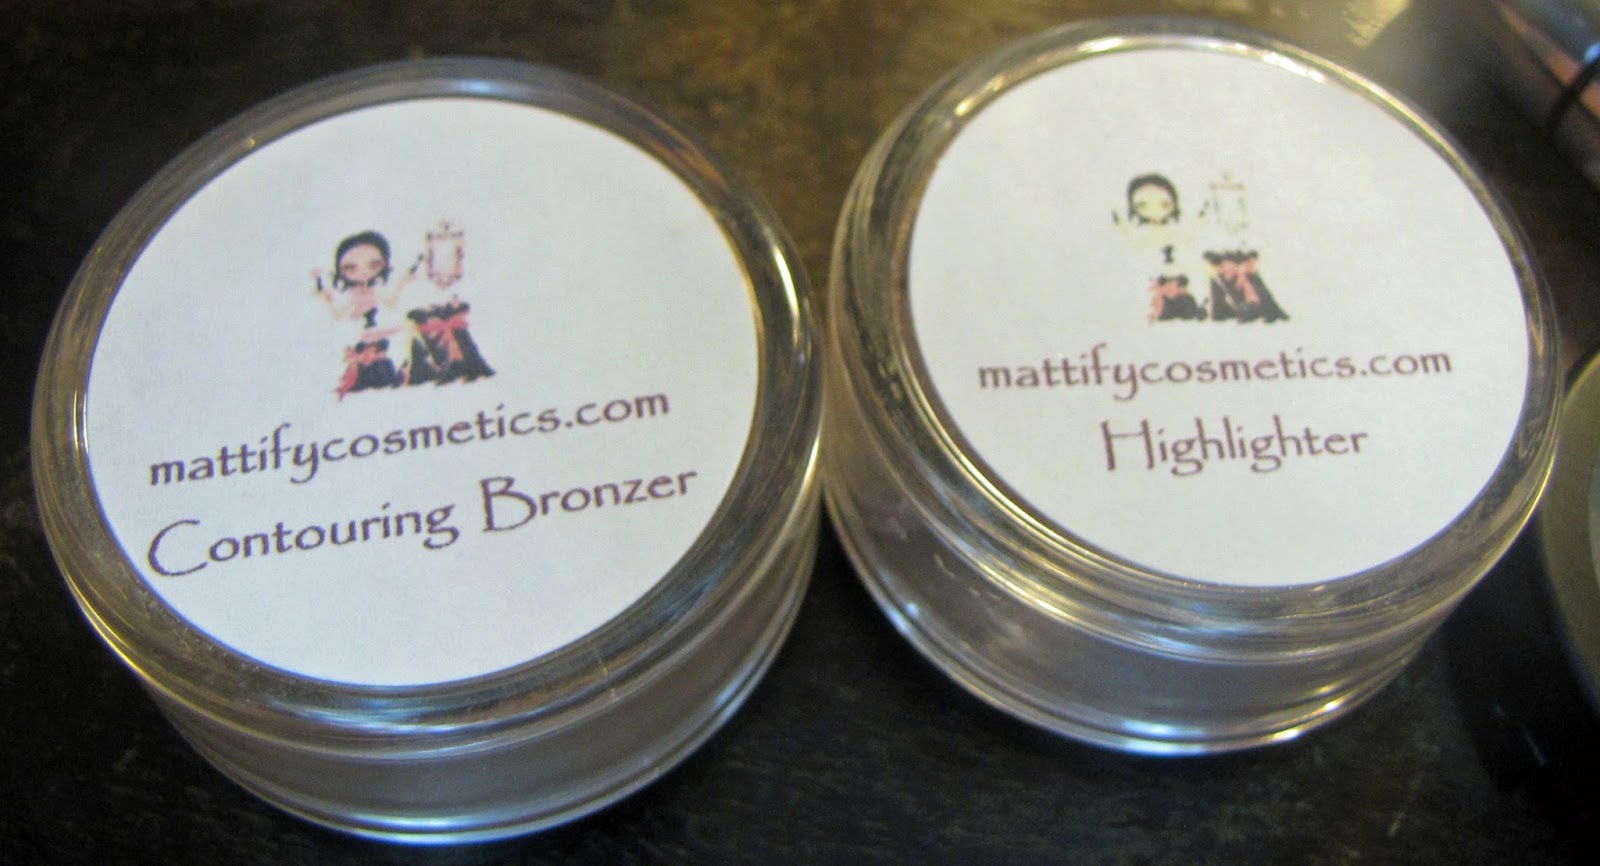
My final look included the Anastasia Beverly Hills Powder Contour Palette, Anastasia Beverly Hills Dipbrow in Taupe, Marc Jacobs Highliner Black Gel Eyeliner, Urban Decay Naked 2 on the eyes, and Kat Von D Lolita 2 on the lips. 


Ingredients: Water, Dimethicone, Phenyl Trimethicone, Trimethylsiloxysilicate, Aluminum Starch Octenylsuccinate, Polysilicone-11, Butylene Glycol, Isononyl Isononanoate, Silica Dimethicone Silylate, Dimer Dilinoleyl Dimer Dilinoleate, Dimethicone Crosspolymer, Glycerin, Isododecane, Sodium Chloride, Methicone, Glyceryl Caprylate, Calcium Carbonate, Sorbitan Sesquioleate, Trihydroxystearin, Potassium Sorbate, Methylpropanediol, Caprylhydroxamic Acid, Disodium Edta, Peg/Ppg-18/18 Dimethicone. May Contain (+/-):CI 77891 (Titanium Dioxide), CI 77492 (Iron Oxide), CI 77491 (Iron Oxide), CI 77499 (Iron Oxide).


Thanks for reading, I hope you really enjoyed it and make sure you stay tuned for more reviews and tutorials!

Saturday, January 23, 2016

Contouring Tutorial


 So, because I'm a jerk and took my entire vacation to be on vacation, I didn't post for the entire month of December! I am deeply sorry for the extended break, but I'm back, and with a special tutorial on basic contouring. Keep in mind, this is basic and will not be the Kim Kardashian level contouring that has been popularized in the media lately. This is more of an everyday look. 

First off, prepare the face. Clean off any residual makeup, moisturize, all that good stuff. 


Next, put on an even level of foundation. Here I used Kat Von D's Lock-It Tattoo Foundation. It's hardcore, and will cover just about any imperfection you want covered. To get this even coverage, I used a beauty blender. 


Next, take a contouring powder or cream and apply it as shown below. I apply it in a basic '3' shape from my forehead, to under my cheekbones, to under my jaw line. I then apply it on the outer edges of my nose, and in a horizontal line just above the 'bulb' on my nose. I apply it to areas I want to have more shadow, or look more defined. On the left is a picture of how it should look in the mirror, and on the right those areas are outlined in red. 


Next, take a powder or cream highlighter and apply it in a triangular shape under the eyes, in the cupid's bow above the lips, under the eyebrows on the brow bone, and in a 'whale tail' shape on the forehead. Basically apply it to any areas you want to emphasize. On the left is how it will look in the mirror, and on the right is the same picture with the areas outlined in red. 


Now, blend that shit out. Blend it with a buffing brush until you get to a point where it look natural. The combined shades should even out on your skin and provide a subtlety, slimmer and more defined face. Below is a picture of the contour and highlight blended out. 


To finish the look, I filled in my eyebrows with a brow gel, added a subtle blush, added eyeshadow, eyeliner, and mascara, and a lipstick. 


And that's it! It's pretty basic and simple, but can add a nice definition to the face. If you all want any other tutorials in the future, please let me know down in the comments!


Saturday, November 28, 2015

Makeup Remover. Cloths, oils, or soaps?

Hi all,
For my readers in the US I hope you all had a wonderful Thanksgiving, I had a super busy week and have loved every second of it! Seeing my family  and friends really reminded me what this season is all about, giving and being with the people you love most.


Today I wanted to write about makeup remover. Since I've had so many posts about applying makeup, I figured it's time for one about taking it OFF.

I've use many types of makeup removers in the past, and now I think I've gotten it down. When I first was introduced to makeup, I used basic soap on my face to remove it all. I typically shower at night, so I could just rinse my face, scrub some bar soap on it, rinse it again, and call it good! This wasn't very long lasted however, as I sometimes came out of the shower looking like a raccoon, so I switched to something a little more heavy duty.

Source
I switched to a liquid makeup remover, something that came in a small plastic bottle that you squeezed to release the liquid onto a cotton ball or cotton round and then rubbed over your face to dissolve all makeup residue. The liquid base cleansers are typically an oil based product, so they can have the adverse affect of clogging your pores and causing breakouts. Coconut, jojoba, or any other high quality oil can also be used instead of these liquid makeup removers and are generally cheaper/healthier for your skin.
Source
I used this method for a year or two before I switched to using makeup remover pads. These products are soft towelettes that have been soaked in makeup remover. You then remove them from the package and use them similarly to how you would use a cotton ball or cotton round to remove the makeup. I have been using these products since, often switching between brands to find the best out there. I have used Almay, Pacifica, Neutrogena,  and more. These towelettes have the advantage of having a larger surface area, so you can really get all the makeup off your skin without using 5 cotton balls. I also find that these can be used up to three times, if you don't wear a full face of makeup daily. To store mine, I typically alternate between placing them upside down and right side up to ensure that the moisture is evenly distributed. However, some of these products tend to irritate my eyes if I rub them too hard and are generally not environmentally friendly as they are not reusable. Also, a side note: whenever I have issues with hives and don't feel like taking a shower to wash all the allergen off, I use one of these wipes to clean it off with no issue.

Source

I also have recently discovered microfiber towels for makeup removal. I currently use the towels from Norwex, but I do believe the popular Makeup Eraser that is sold at Sephora is similar. The prodcuts have the advantage of being environmentally friendly, while effectively removing your makeup. However, because they need to be wet when you use them, I feel they are not for everyone, especially the woman who wants something super quick and super easy. I typically take my showers at night, so I just store my towels there and wet them when I want to use them. They remove most of my makeup with just water and leave my skin feeling really clean. I have had some issues with removing some waterproof mascara simply because no soaps are used, If you don't shower at night, or on't like washing your face with a lot of water before bed these won't really work for you. Because of this factor, I switch back and forth between the microfiber towels and the moist towelettes.

For a recipe to make your own makeup remover towelettes, check out this post from Redefined Mom. She has a great, simple recipe that takes no time at all, and combines the simplicity of a towelette with the nourishing qualities of oils.

So thanks everyone for reading! I hope you all have a great week!

- Megan

Tuesday, November 10, 2015

CONTOUR BATTLE 2K15 EXTRAVANGANZA

Hi guys, 
So, if you couldn't tell from the title of this post, this is going to be a contour comparison with all the contouring and highlighting products I have! This trend has really taken off the past year or two and so lots of companies are now making specialized contouring products, and even though I don't own a ton (a girl's gotta eat....and pay for school, and pay for rent) I still have a fair amount so I thought it would be fun to compare them all!

First off, let's take a look at the Mattify Cosmetics contouring bronzer and highlighter! I made a post about them recently so make sure you check it out! These have a ton of product in them, like a ton. But it's great, so that's awesome! It's a mineral based makeup and handmade, so that's a plus. 


I really like the containers that these products are in, they're kind of those shaker things, where you shake the product up and get a small amount of product on the brush. It limits the product you can get on your brush so it's more user friendly. 


As far as the actual color goes, I like the highlighter a lot more than the bronzer, just because it's a lot easier to blend out and it super pretty! The highlighter has a soft golden glow and a lot of shimmer, a perfect highlighter for a night out. 
The bronzer is nice, and soft but hard to blend out and therefore very dark. It still has a nice color, and the amount of product/quality of the product makes up for what it's lacking.


The next one we'll take a look at is Benefit Watt's Up. Now, I don't have the full sized version of this product, but I do have the sample size that has lasted me forever. The packaging is super cute, with little lightbulbs on it. Get it? Cause Watts? Hah! 
Packaging is pretty much Benefit's schtick, and their other packaging is super cute too. 


It is a nice champagne color that blends out nicely, as it is a cream. Watt's Up is a crowd favorite, and it's easy to see why. I use this off and on, because the sample is so small I tend to loose it in my vanity, but when I do find it again, I love it! It just is kind of forgettable compared to some of my other contouring products. 


Next up is one of my first highlighters! The Laura Geller Baked Highlighter. I got this a year or two ago because I was in the market for a matte highlighter. Now I really like this one, and it came with a sponge brush that was super cool and double sided, however I lost it a few moves ago. 


This was in the color "French Vanilla". It's a nice warm color with no shimmer! Ah, I love a nice matte face and this is a wonderful product for highlighting without a shimmer or glitter bomb. However, it doesn't show up all that well, so this is definitely a subtle highlight, for day to day 'no-makeup' makeup looks. 


Next up, we have the Anastasia Beverly Hills Powder Contour Kit. This was the first full contour kit I ever got, and I really do like it. There's a nice variety of colors for my pale skin and when you run out of a specific color, you can go to their website and refill it. Now since then, they have come out with a cream contour kit in the same colors and while I don't have it yet, I really would love to as cream contours generally work better for me. 


There are six colors in total, three highlights and three contours. There's a nice range of cooler and warmer tones, so this works for most undertones. There's also a nice variety when it comes to shimmer or matte. This first picture below are the contour colors, and the top color is the more red brown color and I use this more for my nose contouring as I usually use a darker contour around my nose. It's nice, but not that pigmented. The middle color is the one I use most often. It's more of an ash brown, and works well for cooler skin tones. I use this color for my actual cheek contouring and really like it. It have pretty even pigmentation too. The last color I very rarely use, it's a little too dark for me and has pretty patchy pigmentation. It's also more of a red brown color and doesn't do the best things for my skin tone. 2/3 ain't bad!


This second picture shows the highlighters. Or it would if they showed up on camera. I really do love the highlighters as they tend to be more matte (one is a shimmer). The top color is the one I use most often, it's a light pink color and really looks good on my skin and give a nice pop of color and highlight wherever you choose to put this. The second color is more of a yellow color, and kind of makes me look sick. I don't use this one that often, but think if you had a warmer skin tone this might work for you. The final color is kind of similar to the first pink color, but with some shimmer. I really like this one too, even though it has the shimmer in it. The shimmer doesn't overpower your face, and doesn't turn into a glitter bomb, it's just the right amount of shimmer for a daily look. 


This final product is the Clinique Chubby Stick Sculpting Contour. I use this one most often of all of my products, simply because of the simplicity of this product. I typically wake up pretty late and don't have a whole lot of time to do my face in the morning, so this is really great when I'm running late or trying to do a quick look. This is similar to the Watt's Up product because it is a cream in a tube.


The color is a more reddish brown, with no shimmer. While I wish the color were a tad more ashy to fit with my skin tone, you can't beat the simplicity of this product. It blends out easily and looks great when applied. If you're just starting to get into contouring and highlighting, I would recommend this product over any of the others listed. 


All in all,  I think that the cream or stick contouring and highlighting products generally work the best, are simple to use, and easy for a busy morning look. However, I do like the color variety that comes with powders better. 
Contouring is a super cool makeup trick and something that is really simple to do, if you'd like a tutorial on how to do it in the coming weeks, let me know in the comments down below! Also tell me all about your favorite contouring products. Are there any you really hate or really love? 

Thanks for reading, and until next time ;]
Megan

Monday, October 19, 2015

Essence Cosmetics Haul and Review

Hello everyone, 
Today I am writing a post regarding a company I had the pleasure of working with a while ago. 
Essence Cosmetics are affordable cosmetics that really pack a punch in pigmentation and value when compared to other drugstore brands.  
I was sent these products, but as you all know that it no way impacts my review. All opinions posted are my own. 
The full haul

I was sent an eyeshadow palette, three eyeshadow singles, and four lipsticks! You guys know how much of a lipstick junkie I am, so those were an amazing surprise. 


First, let's look at the first eyeshadow single. The essence 3D eyeshaodw is a two toned, shimmery shadow pressed into a wave pattern in the pot. This design is super cool, and so far it hasn't impacted my ability to pick up color on my brush. 

Silver on the left, pink on the right. 

The colors inside were a nice, subtle rose pink color offset by a silver color. Both were really nice and paired together well. When swatched, the pink didn't really come out as strongly as I had hoped and looked more silver than in the pan. The silver however, was beautiful and vibrant. It really overpowers the pink, and should be used as a crease color or a liner because it is SO PIGMENTED. 


Next, let's look at the other two single pan shadows. They both were from the Metal Glam line, a line that aims to create metallic-like shades that are wearable for every day. The two I received were Choco-Chic and Are You Grey? Choco-Chic is an almost metallic brown with hints of golden shimmer. I really liked this color, however as I got down deeper into the pan I noticed that the golden shimmer seemed to disappear the further down I got. Perhaps this was a mistake in processing? I love the color, and wished the golden shimmer was consistent throughout the product. 

Choco-Chic on the left, Are You Grey on the right. 
The Are You Grey color had more consistent pigmentation, but that pigmentation wasn't great. It was somewhat patchy to apply and took a while to build up an opaque layer of product. This color was a cool grey color with silver shimmer.


Next we'll take a look at the eyeshadow palette, called All About Nude.  I think this palette is supposed to be a direct competitor to some of the bigger name nude palettes like Urban Decay's Naked series and more. Nude shadows are having a big moment right now, and companies are trying to cash in on that.

Below you can see the swatches on my hand, and I didn't see any color names on the palette itself. The colors were swatched in the same pattern as in the palette. The color in the upper left corner is a soft of green/yellow grey color. It doesn't really show up on my hand, but serves as a nice base color on the eyelid. I've never really seen a color like this before because of the green/yellow undertones, and I think it's a super unique color to wear, without being too showy. The middle top color is a light, dusty pink. I really loved this color in the palette, and it really works as a nice, neutral highlight for a soft, romantic look. The upper right color was a warmer light brown color that was a nice offset to the pink color. It is almost golden, and pairs nicely with the two other colors in the top.


The bottom left color is another pink color, very similar to the other pink in the palette. It's a tad more pigmented, and has some more gold shimmer to it. This color could easily replace the other pink color as a highlight for a romantic night out look. The bottom middle color is a deep, cocoa brown with some silver shimmer. I really love this color for a deep brown liner for looks that are too soft for black liner. it's beautifully pigmented and easy to apply. The bottom right color is a warmer brown color with golden shimmer. This could be exchanged for the bottom middle color for a warmer colored look, and the two tones are pretty interchangeable.

Next, let's take a look at THE LIPSTICKS! I got two products from two different lines, two from their plain lipstick collection, and two from their long lasting lipstick collection. 


This color is from their regular lipstick line and is called Look at Me. It's a pretty nude color that doesn't add much color to the lips. It applies smoothly and doesn't stick to dry portions of your lips. I really liked the formulation of this lipstick and regularly wear it. 


Look at Me


This is one of their long lasting lipsticks in the color, Love Me. This color was pretty sheer on my lips, but added a nice little flush color to your lips. Great if you want a little color, but not if you want something that stands out. This also fades pretty quickly, but because the color isn't that bright you can't really notice it. 

Love Me


This was a super fun color, with an even funner name! All About Cupcake really tastes like cupcakes! I like this color in the tube, however it doesn't turn out as vibrant on my lips as I would have liked. It is pretty sheer, but the formula is smooth and glides on easily!

All About Cupcake


This color is Blush my Lips, and I really love this bright, fuchsia color. It's unlike any other color I currently have in my lipstick collection. The pigmentation is pretty great, but it doesn't last very long on the lips. If you're planning on wearing this throughout the day, may sure to bring it with you to re-apply. 

Blush my Lips


So that's all folks! Thanks for reading and make sure you check out some Essence products at essence-cosmetics.com or at your local Ulta!